Here's Part #3 of Napkin Making.
What you will need:
cutting board with measurements
long quilt ruler
rotary cutter
sewing machine
thread
scissors
fabric
1. Decide what size you want your napkin to be when it's finished. Because we are going to fold in the edges we need to create room for a seam allowance. OK, so for the last two napkin tutorials, I used the measurement of 15" X 17", and because I want my finished seam to be 1/4" I need to add 1" to each measurement (I'll be folding and ironing twice, 1/4"once + 1/4" twice = 1/2" on both sides = 1"). So I am going to cut my fabric at 16" X 18". If you want your seam to be larger, lets say you want the seam to be 1/2", instead of 1/4", from the finished edge you want to add 2"(folding and ironing 1/2" once + 1/2" twice = 1" on both sides = 2") to the finished napkin measurements.
OK enough math, Stay with me....
 |
| Choose your measurement and add 1" inch to each number |
2. Prepare to hem your napkin by folding and ironing 1/4" first time toward the wrong side of the fabric. Then fold and iron 1/4" one more time. See picture in step 3.
 |
| Fold and iron 1/4" |
By the way that handy ruler I'm using to measure my seam allowance is a hemming ruler. They work great for hemming pants or anything else you'd like to hem. It works by moving the little blue handle (witch I circled and pointed with an arrow in the above picture) and the blue triangles mark the measurement you want. Then you make a mark at the top of your ruler on your fabric. Or when you want to iron a perfect measurement.
3. Do the same as in step 2 to the opposite side. If you prepare two opposite sides first the back of your napkin will look more uniform and neat.

4. Repeat step 2 on the other two sides.

5. When sewing the sides, you want to sew on the wrong side of the fabric as close to the fold as possible. You can use the inside of the presser foot for your guide. See picture below. Like the napkin in part 2, you want to sew continuously around the napkin pivoting at the corners (make sure you tuck in the edges of the folded corners, when folding fabric like this sometimes those corners tend to pop out). Don't forget to back stitch when you start stitching.
*tip- when you start sewing don't start on the corner, start in the middle of one of the sides. It will be easier to start sewing.
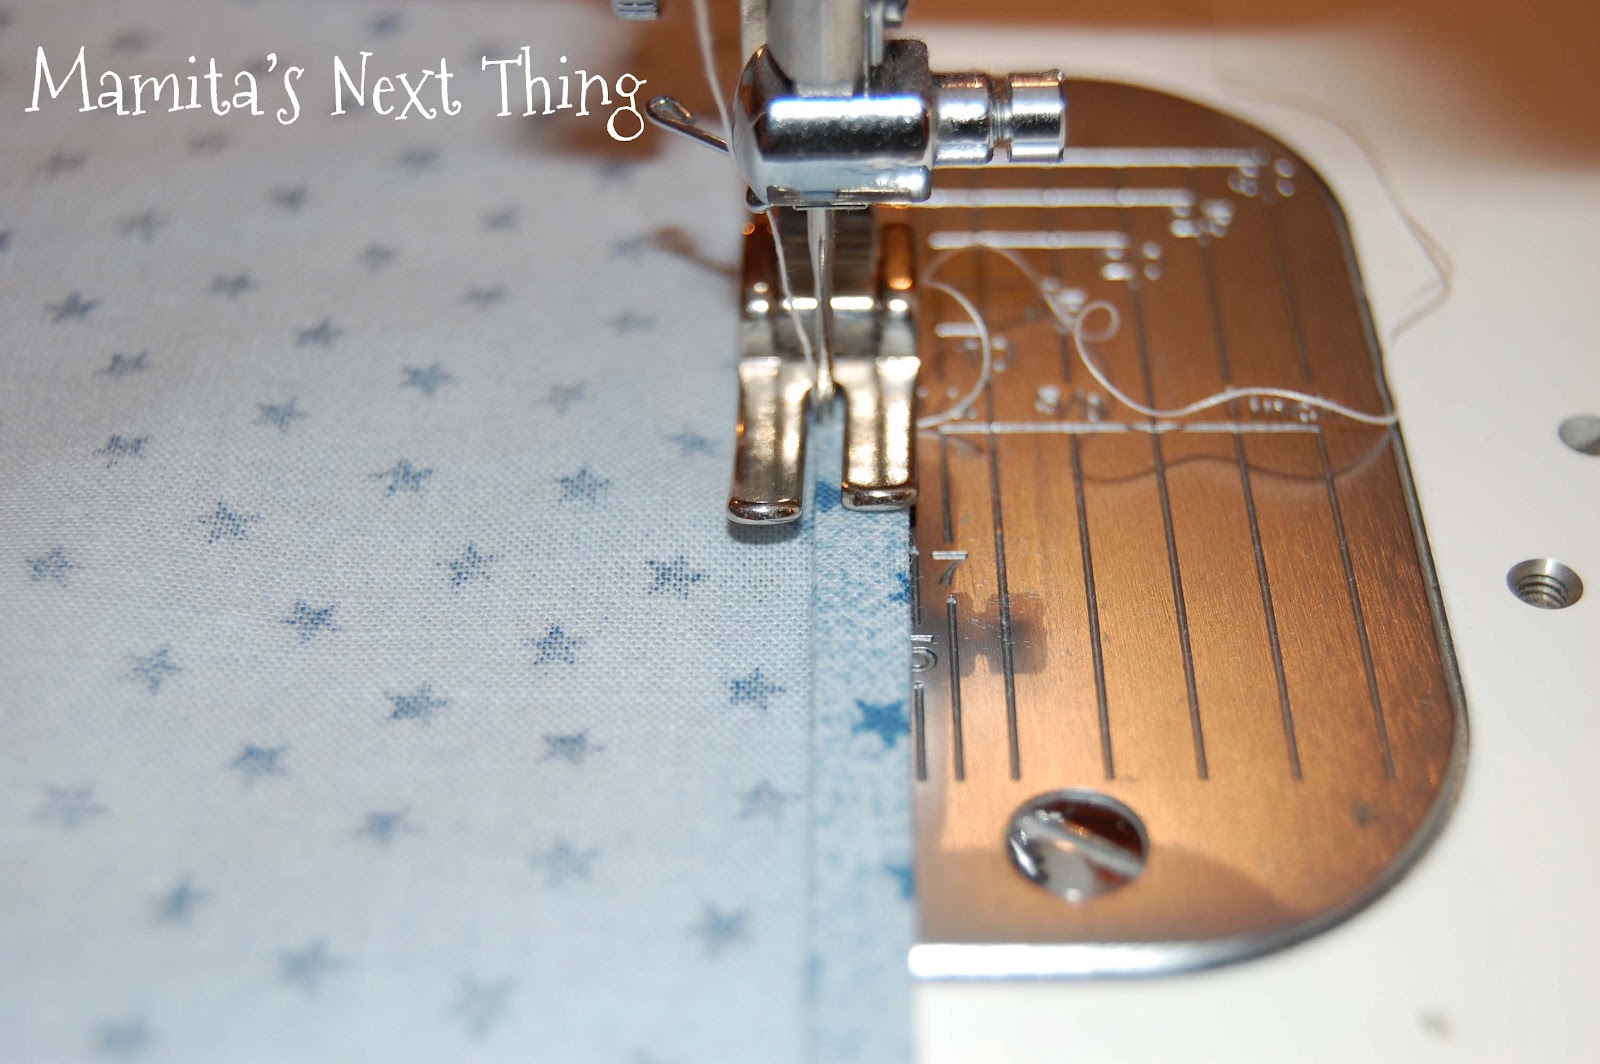 |
| Use the inside of the presser foot for your guide |
6. When you are done, back stitch, clip your thread, iron, fold and go on to your next napkin.
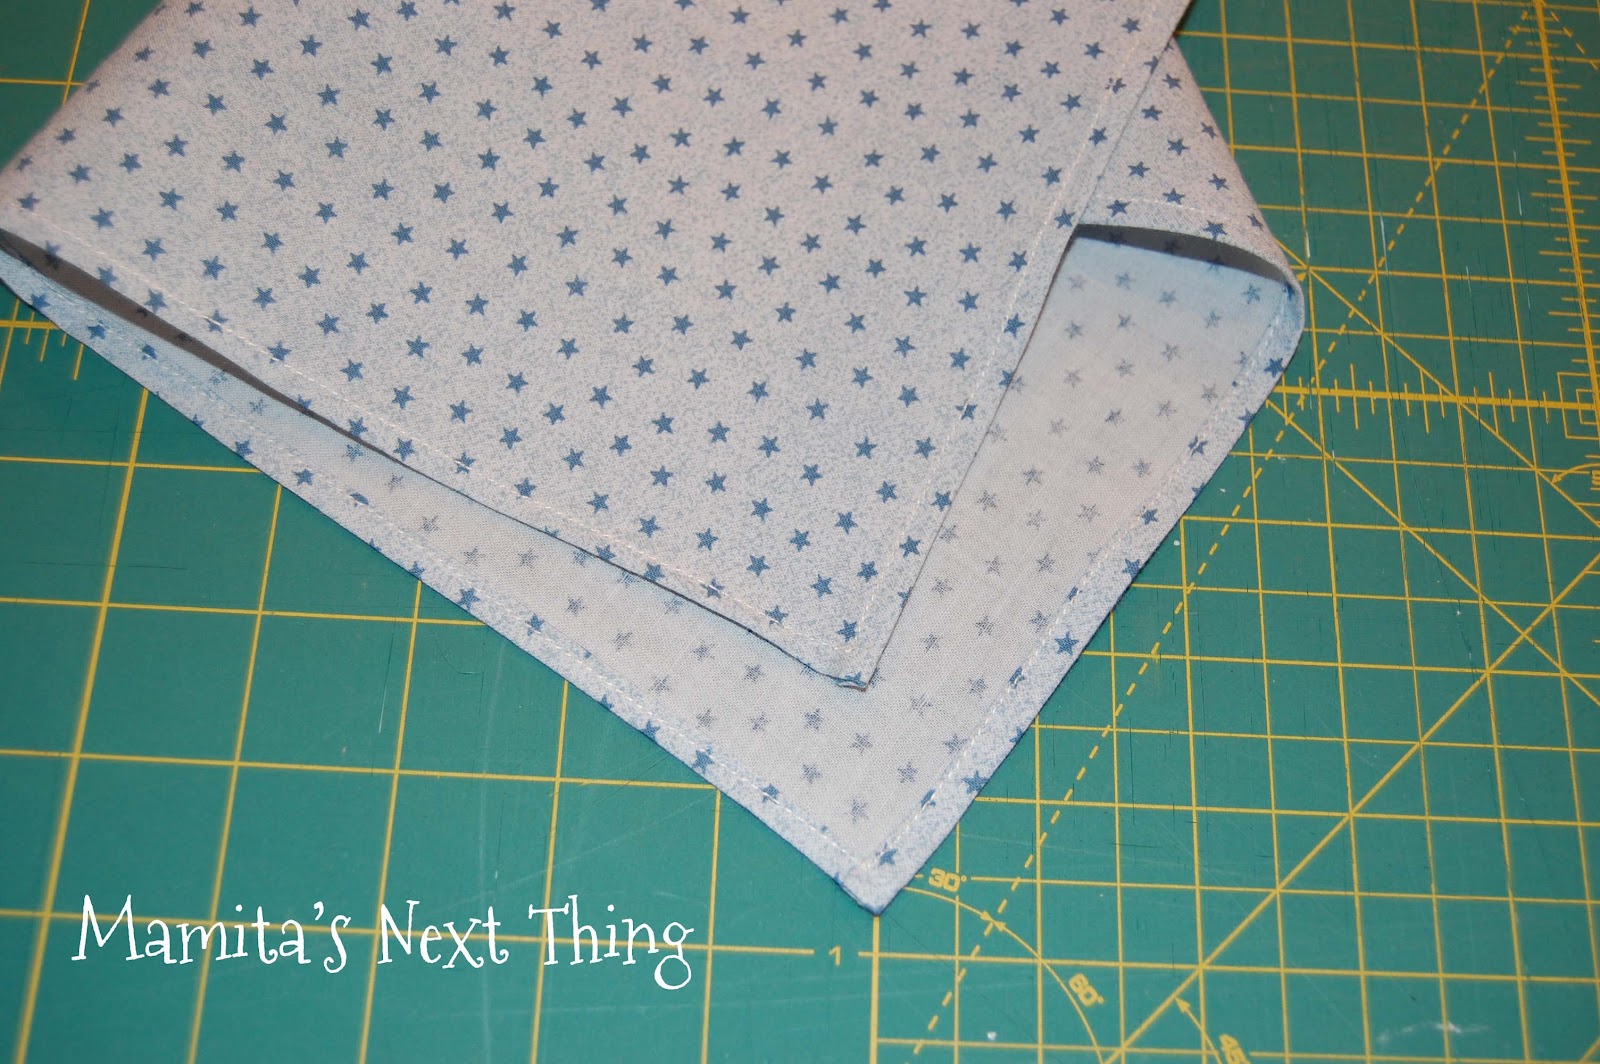 |
| Finished napkin |
To make things easier if you are making multiple napkins you can first cut all your napkins out. Second, iron in preparation to hem your napkins. Third, hem (sew) all your napkins. And finally Iron and fold your napkins.
I hope I have inspired you to make some cloth napkins. By the way, the kind of fabric I used was 100% woven cotton fabric. The kind of fabric typically used for quilting.
If you have any questions let me know.
Happy Sewing!
Good Night, Sweet Dreams!
Lola
Mamita's Next Thing:
So many projects I want to do, but so little time. I keep thinking of Mothers Day and how it would be wonderful to make kitchen kits that include napkins, place mats and oven mittens. So I will be working on that, but I will be sharing a little bit more about me in the next coming weeks. Like cakes I've done, in hope to inspire you to decorate one for a future special date.
Come back to see the next thing.
No comments:
Post a Comment